
The guest arrival is one of the most visible moments in a hotel stay. It is where reservations, room readiness, payment, luggage, guest expectations and human service meet at the same time. A warm smile matters, but it is not enough. Receptionists also need accurate systems knowledge, privacy awareness, queue control, confident communication and the ability to recover when the plan changes.
A strong arrival should feel simple to the guest because the hotel team has prepared the complexity behind the scenes. This guide gives front office managers, supervisors and trainers a practical structure for teaching that process.
What a trained receptionist should be able to do
By the end of arrival training, a receptionist should be able to:
- prepare for expected arrivals before the guest reaches the desk;
- acknowledge guests quickly and professionally;
- locate and verify the correct reservation;
- complete identity, registration and payment steps accurately;
- protect guest information and room security;
- explain essential hotel information without overloading the guest;
- recognise opportunities for helpful personalisation;
- manage room-not-ready and booking problems calmly;
- coordinate luggage, escort and follow-up;
- record and hand over unresolved matters.
Training should combine explanation, demonstration, supervised practice, role-play and live observation. Reading an SOP once is not enough.
1. Prepare before the guest arrives
The quality of arrival service often depends on work completed before the shift or before the peak arrival period.
A pre-arrival review should include:
- expected arrival time where available;
- room type and occupancy;
- room status and special cleaning priority;
- repeat, loyalty or VIP recognition according to policy;
- transport or airport pickup details;
- early-arrival requests;
- accessibility requirements;
- family, child or connecting-room needs;
- special occasions that the guest has shared;
- payment, deposit or guarantee instructions;
- unresolved pre-arrival requests;
- group arrivals and expected coaches;
- language or communication support where known.
The purpose is not to memorise every guest. It is to identify arrivals that need preparation, coordination or a specific owner.
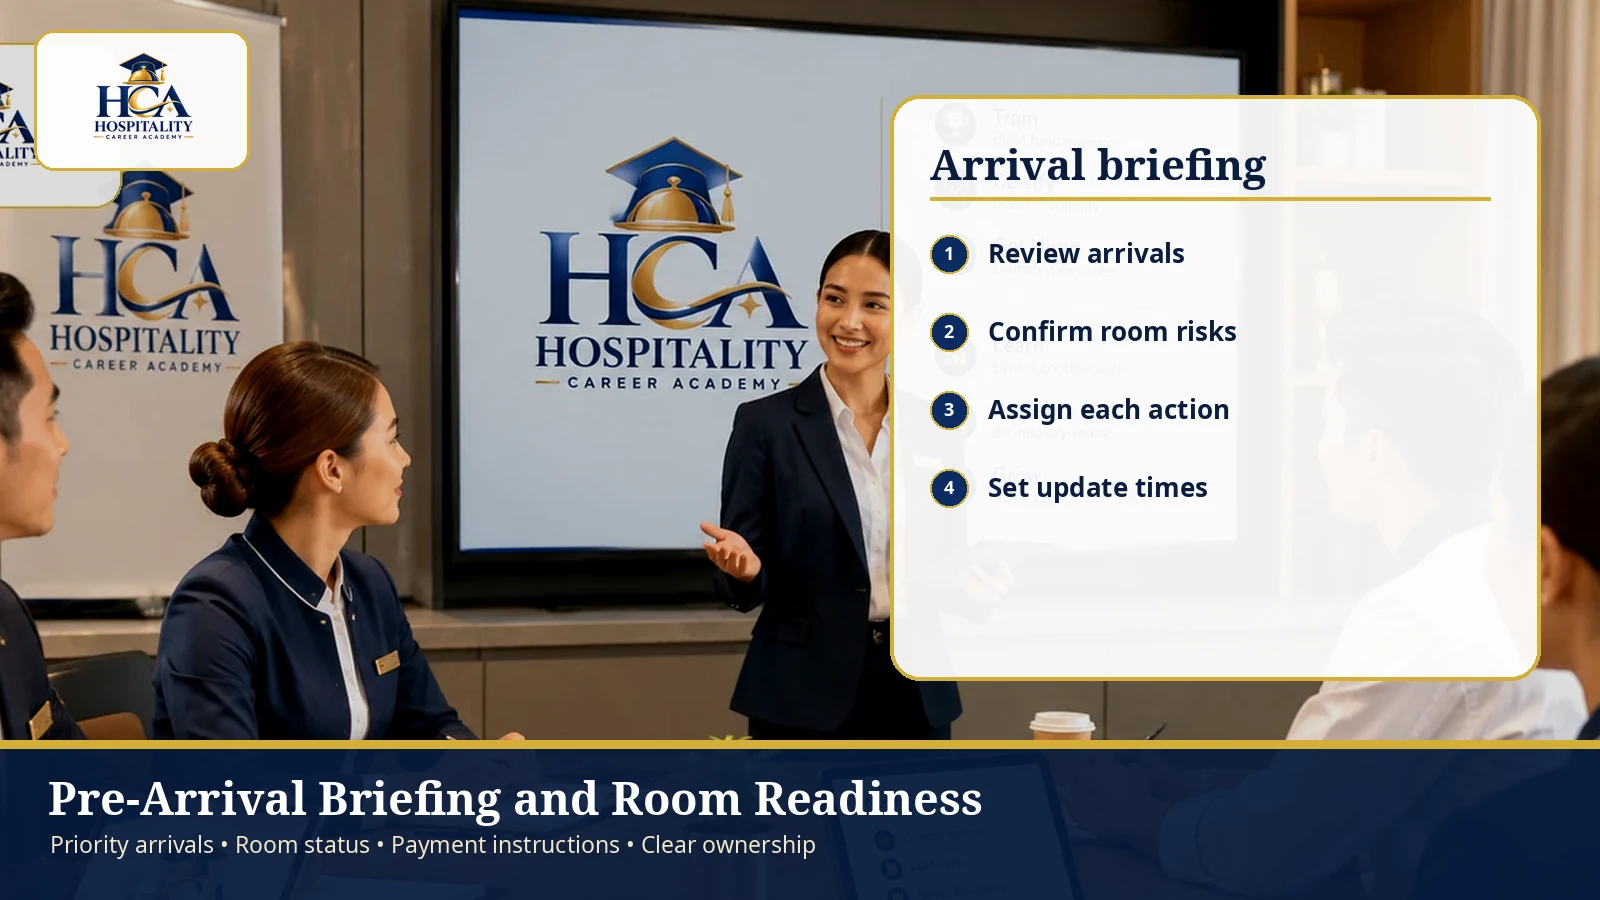
Run a focused arrival briefing
A useful briefing answers:
- Which arrivals are likely to need extra time?
- Which rooms are not yet ready?
- Who owns each special request?
- What approved alternatives are available?
- Are there any security, payment or documentation notes?
- Which department must be contacted before the guest reaches the desk?
Avoid reading a long list without decisions. Briefing should turn information into action.
2. Acknowledge the guest before starting the transaction
Guests should not feel invisible while employees finish a screen task or another conversation. Even when the desk is busy, a brief acknowledgement can reduce uncertainty.
A good opening includes:
- eye contact where culturally and practically appropriate;
- a natural smile and professional greeting;
- recognition of waiting guests;
- an offer of seating or assistance when needed;
- coordination with bell or lobby colleagues for luggage;
- attention to accessibility, older guests, families and tired travellers.
Example when serving another guest:
Good afternoon. Welcome. I will be with you shortly. My colleague can assist with your luggage while you wait.
The receptionist should not promise an exact waiting time unless it can be delivered. Use realistic updates.
3. Confirm the reservation accurately
The receptionist should locate the correct booking before discussing personal details. Use the property’s approved verification process.
Confirm information such as:
- guest name and identification;
- arrival and departure dates;
- number of occupants;
- room type and package;
- rate visibility rules;
- special requests;
- loyalty membership where applicable;
- payment or guarantee method;
- accompanying guests and registration requirements.
Do not read sensitive details loudly across a crowded lobby. Do not announce the room number verbally if the property’s security standard avoids it. Point to the key wallet or write the number discreetly.
When the reservation cannot be found
Do not immediately tell the guest, “You have no booking.” Search carefully:
- Confirm spelling and booking name.
- Check alternative dates.
- Check confirmation number.
- Search accompanying guest or company name.
- Check recently created or cancelled records according to access rights.
- Contact reservations or the booking channel if required.
- Keep the guest updated while investigating.
A more professional phrase is:
I have not located the reservation yet, but I am checking a few possibilities. May I see the confirmation email or booking number so I can continue?
4. Complete registration, payment and security controls
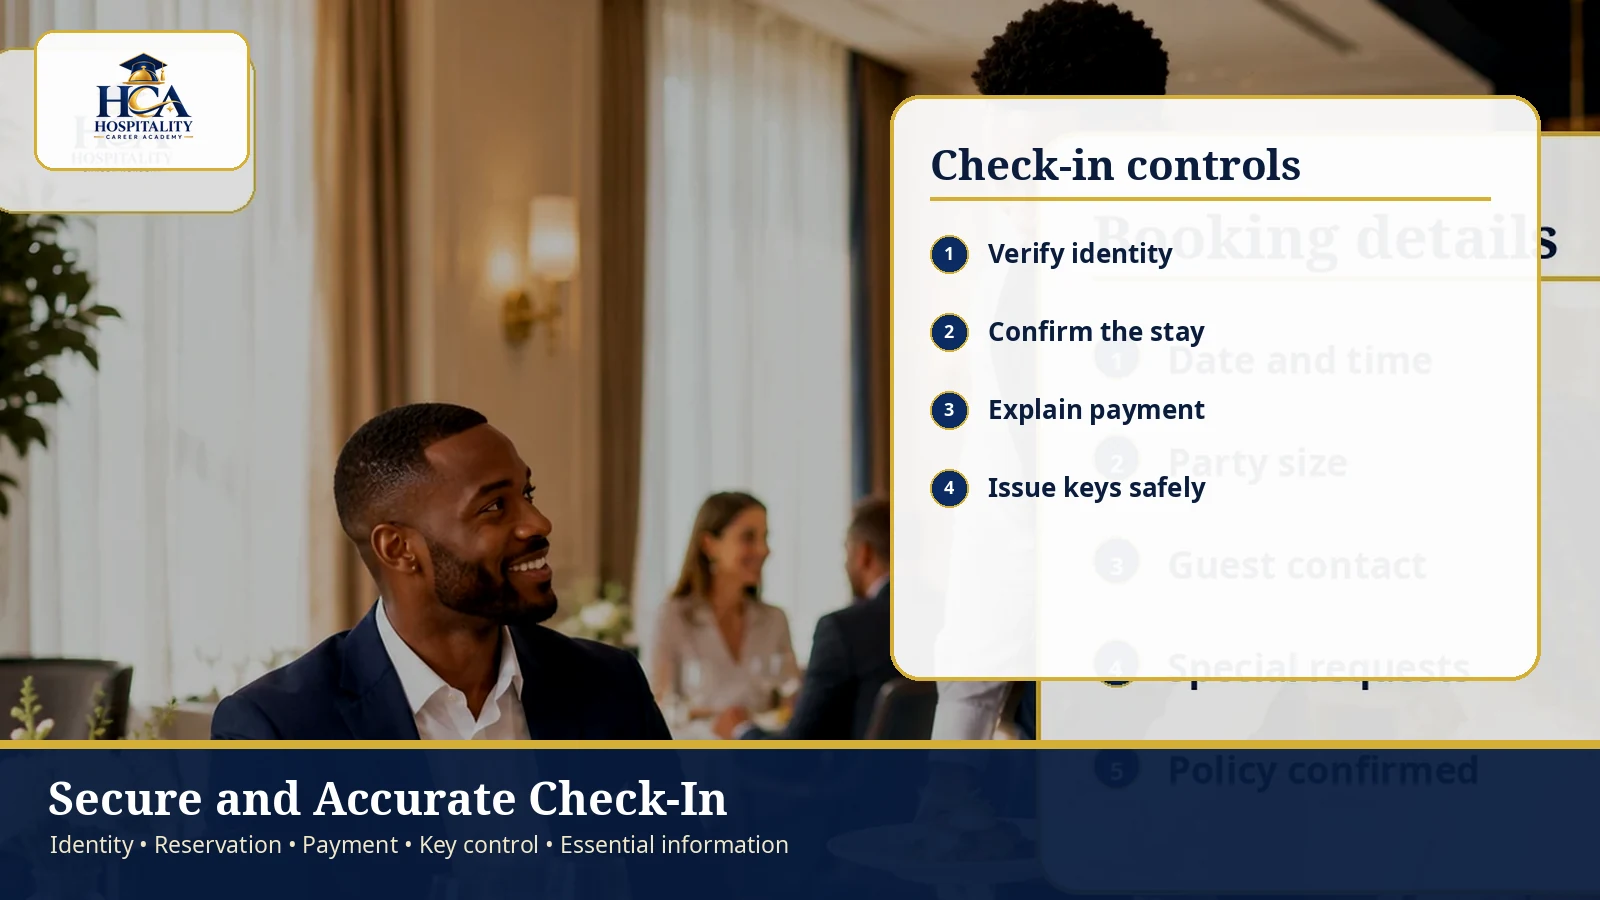
Speed should never replace required controls. The receptionist must understand which steps are mandatory and why.
Depending on hotel policy and local requirements, the process may include:
- verifying identity documents;
- completing or confirming registration details;
- obtaining required signatures or digital confirmation;
- confirming payment method and deposit;
- checking billing instructions;
- issuing keys only to authorised occupants;
- explaining how additional names can be added safely;
- recording required information in the PMS.
Payment-card information and guest documents must be handled through approved systems and secure procedures. Employees should never write sensitive card data in unapproved notes, messages or personal devices.
If the payment method fails, protect the guest’s dignity. Avoid announcing the issue loudly. Explain the next step privately and clearly.
5. Personalise without becoming intrusive
Personalisation should make service easier or more relevant. It should not make the guest feel watched.
Useful personalisation includes:
- confirming a previously requested bed type;
- recognising a return visit appropriately;
- acknowledging an occasion the guest shared;
- offering practical information based on the stay purpose;
- arranging accessibility support;
- adapting the amount and pace of explanation.
Do not mention information that the guest did not expect the receptionist to know. Do not ask personal questions simply to appear friendly. Use the guest’s name naturally, not in every sentence.
Example:
I can see you requested a quiet room. We have assigned one away from the lift. Please let us know after you settle in if the location works well for you.
6. Explain the stay essentials clearly
The goal is to prepare the guest, not deliver a speech. Prioritise information the guest needs immediately.
Typical essentials include:
- breakfast location and time;
- Wi-Fi access;
- check-out time;
- lift or room direction;
- how to contact the hotel team;
- key facility opening times when relevant;
- deposit or billing information the guest must understand;
- any temporary operational notice affecting the stay.
Ask a simple closing question:
Is there anything you would like me to explain before you go to the room?
For repeat guests, avoid repeating every standard detail unless something has changed.
7. Handle room-not-ready situations professionally
A room that is not ready can create frustration, especially after travel. The receptionist should not blame housekeeping or make unrealistic promises.
Use four steps:
- Acknowledge: Recognise the inconvenience.
- Explain briefly: Give an honest, non-defensive update.
- Offer approved options: Luggage storage, facilities, waiting area, alternative room, meal or transport support depending on policy.
- Own the update: Give a realistic next contact time and record responsibility.
Example:
I am sorry the room is not ready at the expected time. The team is completing the final inspection. I can store your luggage and arrange access to the lounge while we finish. I will update you by 3:30, even if the status changes sooner.
The promised update is as important as the initial response.
8. Manage other common arrival disruptions
The booked room type is unavailable
- verify the booking and inventory;
- involve the authorised manager early;
- explain the confirmed alternative clearly;
- avoid describing a lower category as an “upgrade”;
- document compensation or follow-up according to policy.
The guest arrives early
- check actual room availability;
- avoid promising immediate access before confirmation;
- offer luggage support and hotel facilities where allowed;
- record the guest’s location and preferred contact method;
- give a realistic update time.
The queue becomes long
- acknowledge waiting guests;
- call available support according to the escalation plan;
- separate quick enquiries from full check-ins where the layout allows;
- pause non-urgent back-office tasks;
- keep transactions accurate;
- update the queue rather than allowing silence.
A guest is upset at the desk
- keep your tone low and steady;
- listen before defending the hotel;
- move the conversation to a more private area when possible;
- confirm the issue and required outcome;
- involve a manager when authority or safety requires it;
- record facts and ownership.
9. Offer upgrades only when they fit the guest
Arrival can be an appropriate moment to offer a room upgrade, but the welcome should never feel like a sales barrier. Complete the essential verification first, understand the guest’s needs and present the option transparently.
A good offer explains:
- the relevant benefit;
- the additional price and whether it is per night or per stay;
- what is included;
- any important condition;
- that the guest is free to decline.
Example:
Because you are staying for four nights, I can offer a larger room with a separate seating area for an additional AED 120 per night. Your current room remains confirmed, so there is no pressure to change.
10. Finish with a coordinated handover
A guest should not need to repeat the same request to reception, bell service and guest relations.
Before ending the arrival:
- issue and verify the correct keys;
- confirm luggage ownership and room destination;
- arrange escort if included in the standard;
- notify the receiving department of relevant requests;
- record promised follow-up;
- make sure the guest knows how to contact the team;
- close with a warm but concise farewell.
Example:
Mr Hassan will assist with your luggage and show you to the room. I have also asked engineering to check the adaptor request, and I will confirm with you within 20 minutes. Welcome, and please contact us at any time.
Practical role-plays for receptionist training
Role-play 1: Room not ready
The guest arrives after a long flight. The room is still under final inspection. The trainee must acknowledge the delay, avoid blaming another department, offer approved options and set an update time.
Role-play 2: Reservation not found
The guest has a confirmation on their phone, but the booking does not appear under the expected surname. The trainee must verify calmly, search alternative details, communicate progress and escalate correctly.
Role-play 3: Payment problem
The card authorisation is declined. The trainee must handle the conversation discreetly, explain alternatives and avoid embarrassing language.
Role-play 4: Family arrival
A family arrives with children and significant luggage. One connecting room is not ready. The trainee must coordinate bell support, prioritise needs and give a practical temporary solution.
Role-play 5: Suitable upgrade
A couple mentions a special occasion. The trainee should discover preferences, offer a relevant room option with full price transparency and accept a refusal gracefully.
Observation checklist for trainers
During practice or live observation, check whether the receptionist:
- prepared the arrival information;
- acknowledged the guest promptly;
- used a clear professional greeting;
- verified the correct reservation;
- protected privacy and room security;
- completed registration and payment accurately;
- explained only useful information;
- responded calmly when the plan changed;
- used benefit-led, transparent upgrade language;
- recorded ownership and deadlines;
- coordinated luggage or escort;
- finished with a clear closing.
Use specific feedback. “Be warmer” is vague. “Acknowledge the waiting guest before returning to the screen” is actionable.
A 14-day arrival-training plan
Days 1–3: Standards and systems
- explain the complete arrival journey;
- demonstrate reservation search and check-in steps;
- review identity, payment, key and privacy controls;
- practise the greeting and essential hotel explanation.
Days 4–6: Scenarios
- role-play room-not-ready and reservation-not-found cases;
- practise payment conversations;
- review early arrival and queue escalation;
- coach language, tone and body posture.
Days 7–10: Supported live practice
- assign lower-risk arrivals under supervision;
- use an observation checklist;
- give feedback after each small block of arrivals;
- repeat any weak step immediately.
Days 11–13: Broader responsibility
- practise special requests and cross-department handover;
- introduce appropriate upgrade offers;
- assess record quality and follow-up;
- observe performance during a busier period.
Day 14: Sign-off
- complete a knowledge check;
- conduct two role-plays;
- observe one full live arrival where possible;
- agree development points and the next review date.
Final takeaway
Excellent guest arrival service is not a memorised welcome sentence. It is a controlled sequence of preparation, recognition, accuracy, security, useful communication and ownership. When receptionists train with realistic scenarios and receive specific feedback, they become faster without becoming careless and warmer without losing professionalism.
The best arrival feels effortless to the guest because the team has prepared, coordinated and practised every important detail.
Related HCA guides
- hotel receptionist skills guide
- Hotel Front Desk Training Checklist
- LEARN model for guest complaints
- HCA hospitality courses
Update references
- Hotel, Motel, and Resort Desk Clerks — O*NET OnLine — U.S. Department of Labor
- ISO 22483:2020 — Tourism and related services — Hotels — Service requirements — International Organization for Standardization
- PCI Security Standards — PCI Security Standards Council
- Hotel Receptionist Skills: A Practical Competency Guide — Hospitality Career Academy
Frequently asked question
What should hotel receptionist arrival training include?
It should cover pre-arrival review, a consistent check-in sequence, identity and payment controls, key security, room-not-ready handling, queue awareness, relevant personalisation, role-play and supervised assessment.
Explore professional front office training